How to Make a DIY Flower Vase From Things You Already Own
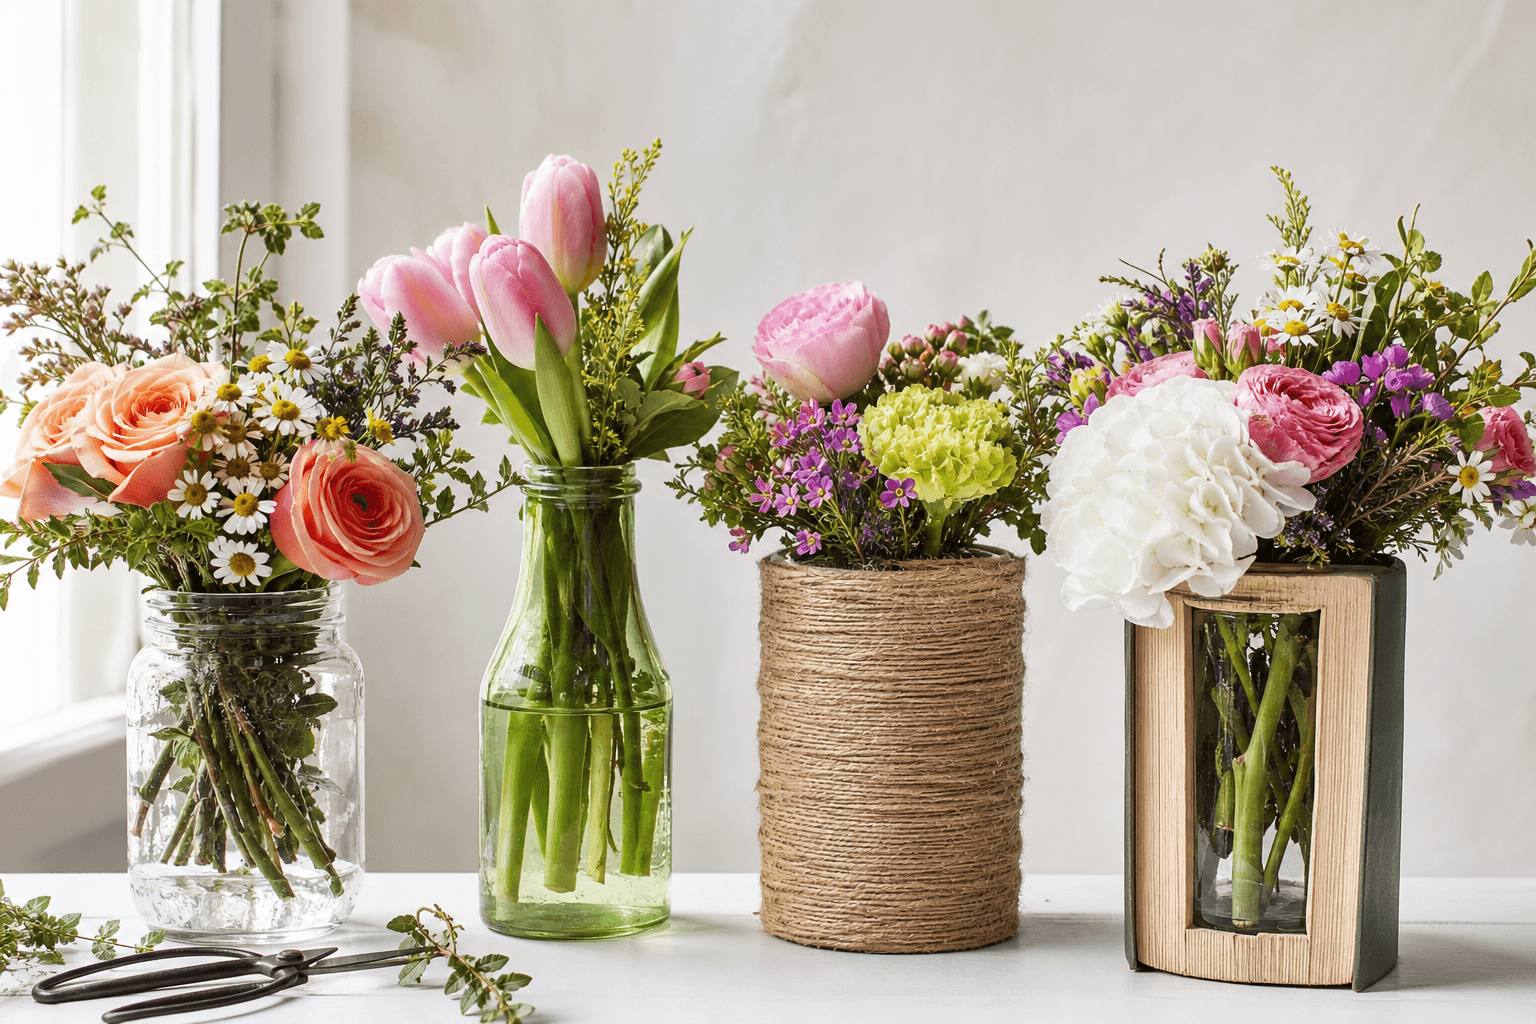
Turn jars, bottles, tins and even old books into usable flower vases. The key is choosing the right insert, keeping water contained, and matching the vessel to the flowers.
As an Amazon Associate, Flowers on Demand earns from qualifying purchases. Links to Amazon.ca in this article are affiliate links: if you buy through one we may earn a small commission, at no extra cost to you.
Start with the container, not the bouquet
To answer how to make a diy flower vase plainly: choose a clean container, make sure it can safely hold water, then match the opening and height to the flowers you want to display. Glass jars, wine bottles, olive oil bottles and sturdy tins are the easiest starting points. Books, baskets, wood boxes and unglazed pottery can work too, but only as covers. Anything porous needs a glass insert, because paper, wood, cardboard, wicker and some ceramics will leak, stain or soften when water sits against them.
A good rule of thumb is that the vase should be about one-third to one-half the height of the flowers after trimming. Tall roses, lilies, tulips and branches need a taller, heavier container so they do not tip. Short carnations, spray roses, ranunculus, mums and daisies can sit in a jam jar or low tin. If the opening is wide, you will need a tape grid, chicken wire or a pin frog to stop every stem from sliding to the rim.
How to make a DIY flower vase watertight
Glass is already watertight, so the main work is cleaning. Remove labels, wash away glue, rinse well and let the jar or bottle air out so flowers are not sitting in soap residue or old food smells. Metal tins are trickier. Many will hold water for a day, then rust or seep at the seam. If you want to use a tea tin, coffee tin or maple syrup can as a vase, place a drinking glass, jar or florist liner inside it first.
For a small, easy bud vase, clear milk bottles are a tidy shortcut. These 250 ml glass milk bottles suit one or two stems, and you can remove the lid before adding water. They are useful if you want a row of simple flowers down a dining table or windowsill. For porous containers, do not rely on plastic wrap alone. It shifts, punctures and traps moisture where you cannot see it. Use a real glass insert every time.
Match the vase shape to the flowers
Tall, straight containers suit long lines. Use them for roses, tulips, lilies, delphinium, snapdragons and bare winter branches. A wine bottle works for three to five stems, but a full dozen roses usually needs more room and weight. If you need a clear, simple shape instead of making one, the CYS EXCEL glass cylinder vase is a tall straight-sided option for long-stemmed roses, tulips, lilies and branches. It also comes in several heights, which helps when you arrange different stem lengths.
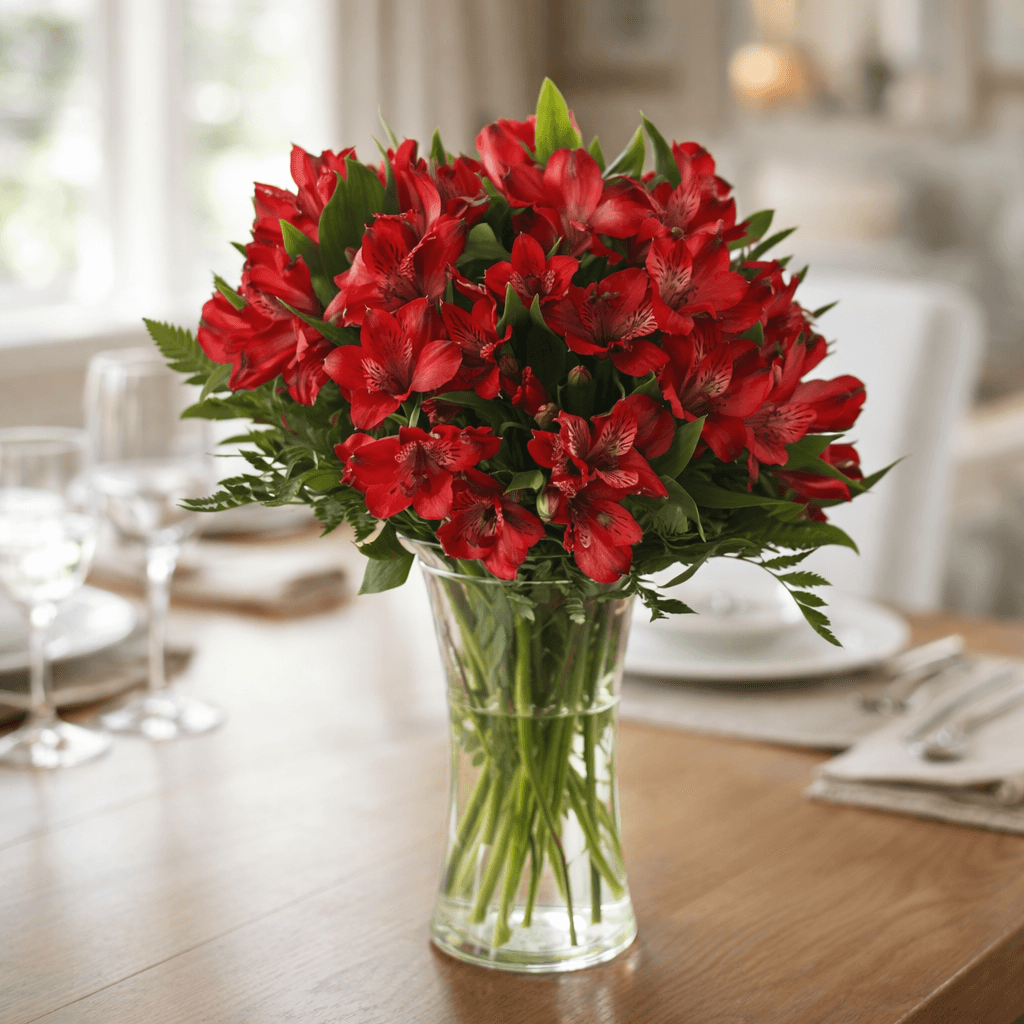
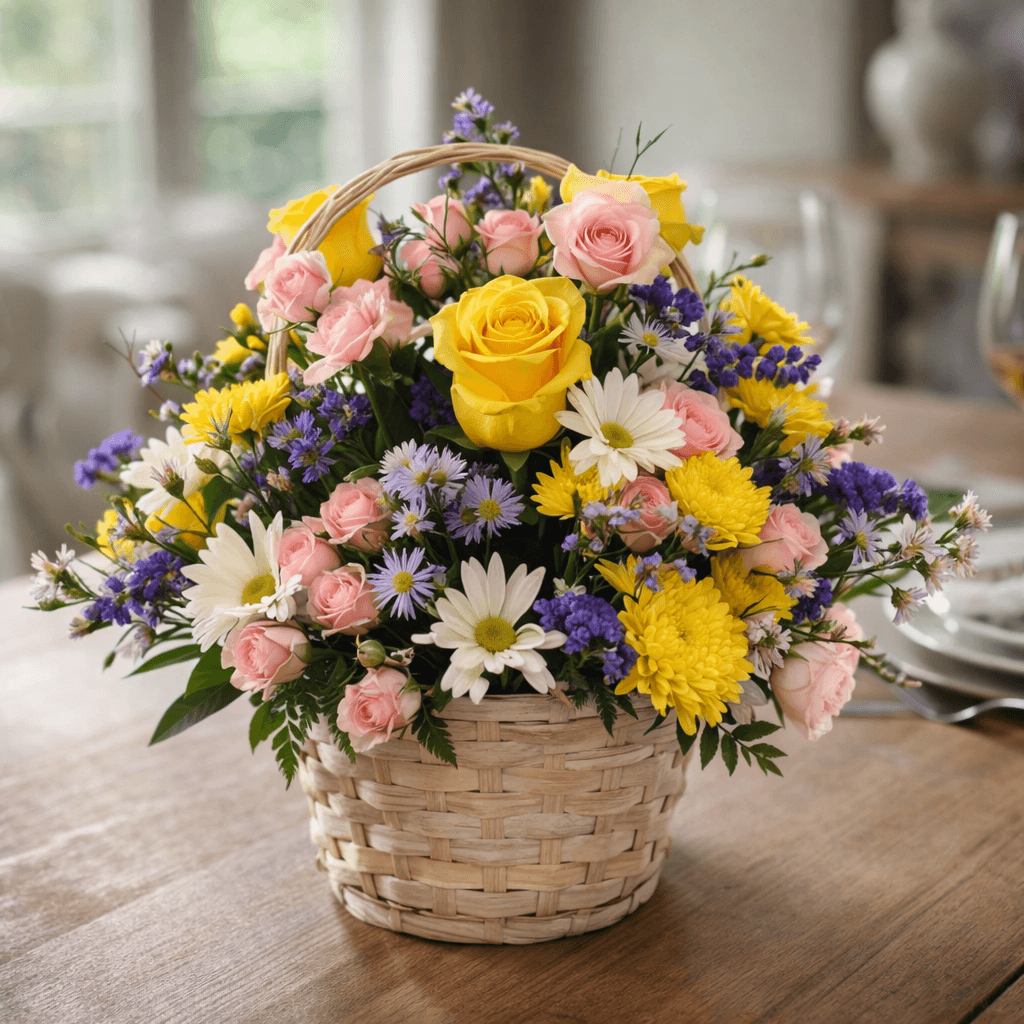
Wide jars and tins suit looser, rounder flowers: hydrangea, chrysanthemums, alstroemeria, gerbera daisies, spray roses and mixed garden-style bunches. They can look generous without needing very long stems. If you like that full, everyday look, Lush at $74.95 CAD gives a useful reference for scale and fullness when you are choosing a container at home. For finished flowers that do not require DIY, our vased arrangements arrive already arranged in a vase by a local florist.
Paint, wrap or leave it clear
Paint only the outside of a DIY vase, never the inside where water and stems sit. Acrylic craft paint, spray paint or chalk-style paint can hide labels and turn a jar into something neutral, but let it cure fully before adding flowers. If you like clear glass but dislike seeing every stem, ribbed glass helps disguise cloudy water and crossed stems. A ribbed glass vase is useful for a modern look when you want the freshness of glass without a completely exposed water line.
Wrapping is usually safer than painting if you need the vase today. Use kraft paper, fabric, ribbon, twine, leftover wallpaper or a strip cut from a paper shopping bag. Keep the wrap above the water line and remove it if it gets wet, especially around tins and books. A common mistake is wrapping right to the bottom and then setting the vase on a damp counter. The wrap wicks water, stains the surface underneath and can make a clean arrangement look tired by the next morning.
Keep stems in place without floral foam
A wide-mouthed jar can make even good flowers look sparse if the stems fall outward. The fastest fix is a tape grid across the top. Run strips one way, then cross them the other way, leaving small squares for stems. Clear waterproof floral tape is meant for this job; clear floral tape is helpful on clear glass because it is less visible than green tape. Dry the rim first, or the tape will lift as soon as condensation forms.
For opaque tins, crocks and ceramic covers, ball up floral chicken wire and place it inside the glass insert. It holds stems where you put them and is a foam-free support florists use for loose, garden-style designs. In a low bowl, a round pin flower frog holds stems upright at an angle, which is useful for ikebana-inspired arrangements, floating foliage lines and short centrepieces that should stay low enough for conversation.
Book vases and other porous containers
A book vase is not a vase by itself. It is a decorative sleeve around a watertight insert. Choose a book you no longer need, cut or hollow a space only if you are comfortable damaging it, then slide in a narrow glass jar, test tube or bottle. Keep the water below the rim of the insert and lift the insert out for water changes. Do not pour water into a book, even if the pages are sealed or glued. Paper eventually swells, stains and smells musty.
Book vases suit small, controlled arrangements rather than heavy bouquets. Try one white rose with eucalyptus, three spray roses, a few stems of waxflower, or short tulips cut to different heights. They also work nicely with dried lavender, statice, grasses and preserved stems because no water is needed. If you want fresh flowers in a porous cover such as a basket, wood box or paperboard gift tube, the same rule applies: use a glass insert that can be removed, cleaned and refilled.
When to use a DIY vase, and when to order one
A DIY vase is ideal when you already have flowers, want to reuse something at home, or need a casual table centrepiece. If you are sending flowers to someone else, a florist-made vase can be kinder because the recipient does not need to hunt for a container. Flowers on Demand delivers across Canada, including AB, BC, MB, NB, NL, NS, ON, PE, QC, SK, NT, NU and YT, through a network of local florists who arrange and hand-deliver. Delivery is a flat $19.99 CAD.
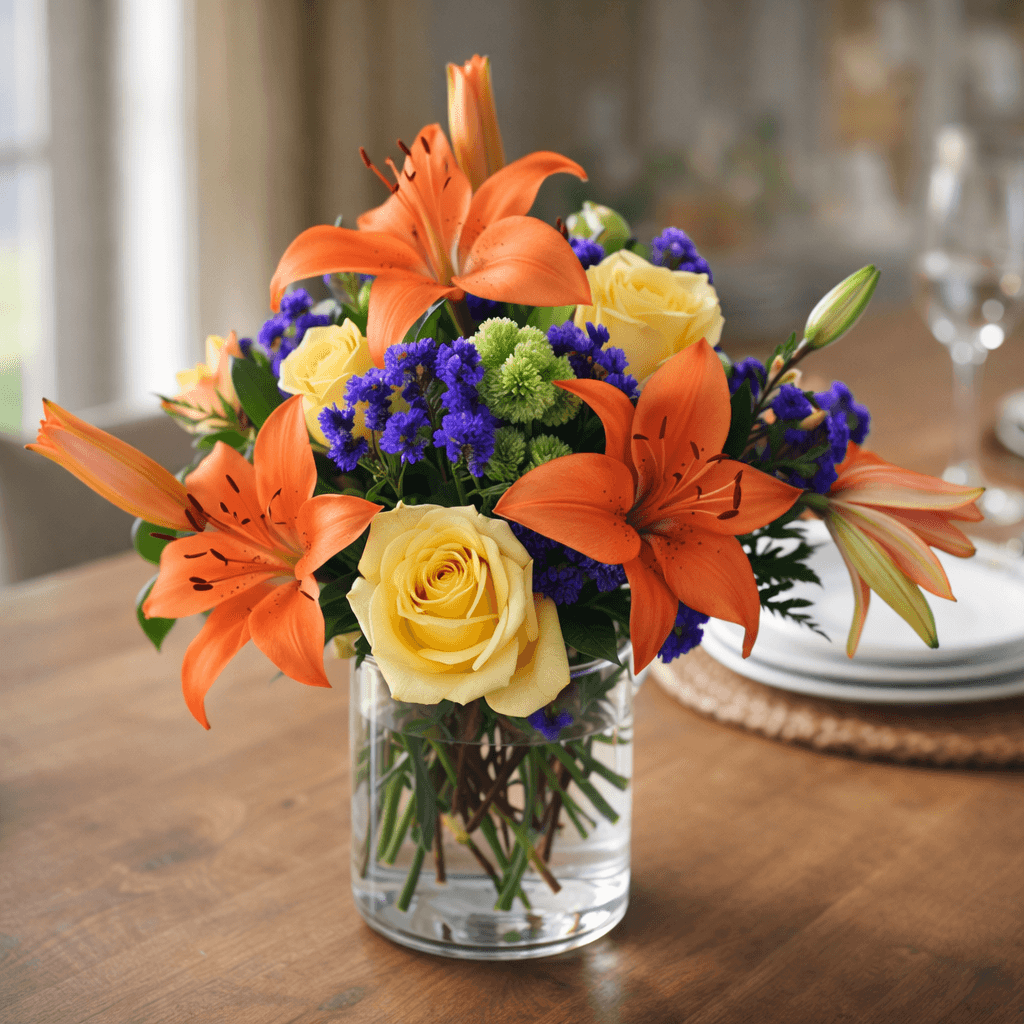
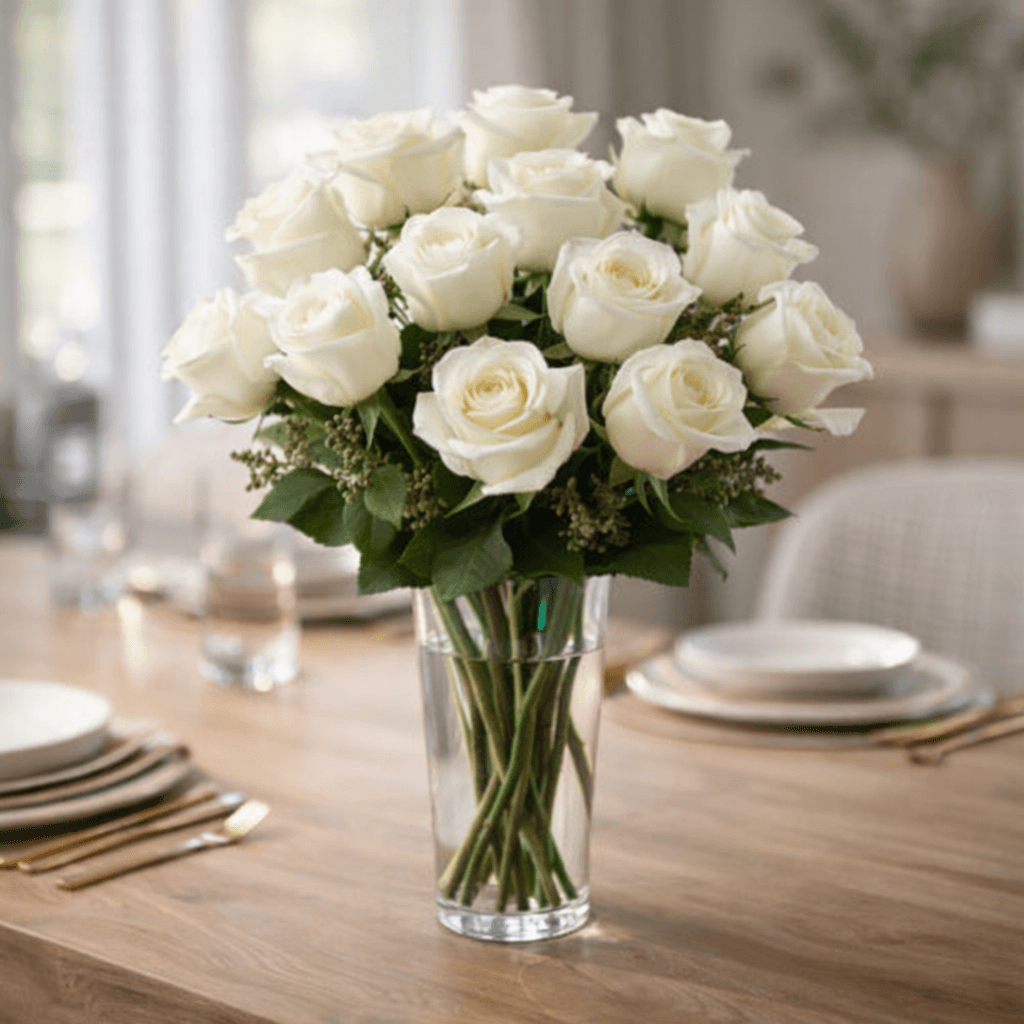
For gifts, browse every-day flowers when the occasion is simple, or vased arrangements when you want the flowers to arrive ready to place. Same-day delivery is available Monday to Saturday when you order by 1:00 PM in the recipient's local time; there is no Sunday delivery. Lily Surprise at $84.95 CAD suits someone who likes height and scent, while The White Rose Bouquet at $89.95 CAD is a calm, clean choice for a glass or ceramic vase. Substitutions of similar value and style can happen if a local florist is short a specific stem.
Common questions
- How to make a diy flower vase?
- Start with a clean jar, bottle, tin or decorative cover, then make sure the part holding water is glass or another watertight insert. Trim the flowers so the vase is about one-third to one-half the finished flower height, and use tape, chicken wire or a pin frog if the opening is wide. Anything porous, including books, baskets, wood and cardboard, needs a glass insert.
- How to make a flower vase?
- The simplest flower vase is a washed glass jar or bottle with fresh water and a stable base. For a tin, book or basket, place a glass jar inside before adding flowers. Match tall containers with roses, lilies, tulips or branches, and use low jars or bowls for short blooms such as mums, carnations, ranunculus and spray roses.
Arrangements to send
Lush
Sweet Surprises Bouquet
Lily Surprise
Splendid
The Girl Power Bouquet
The White Rose Bouquet
Keep exploring
Shop these arrangements
More from the blog
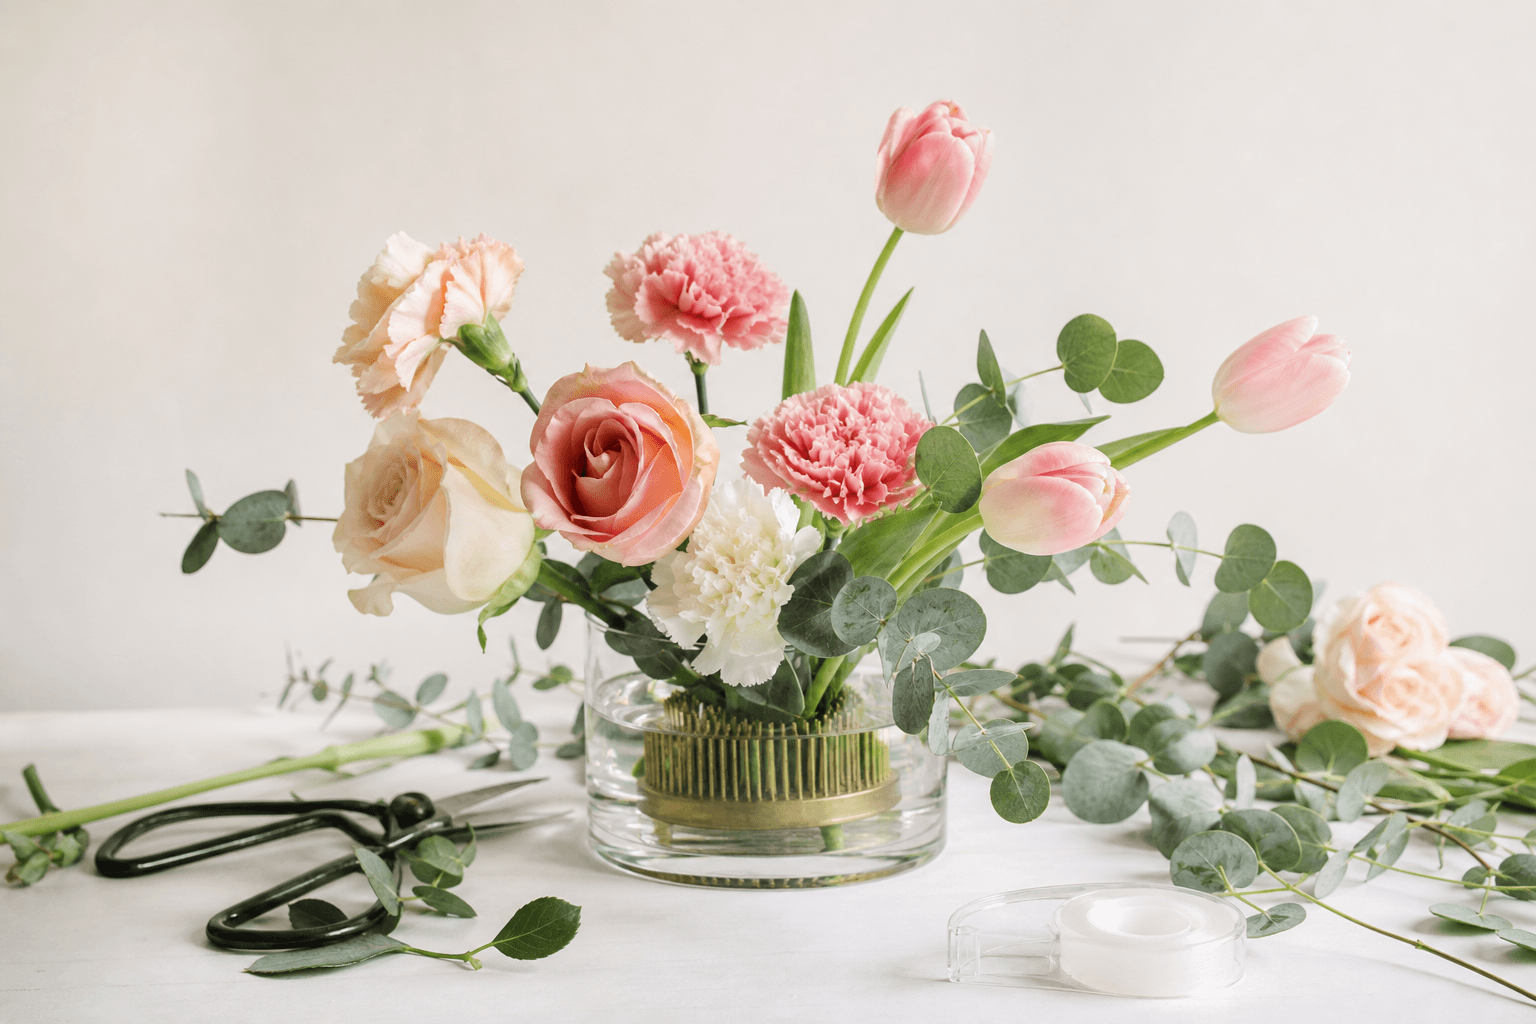
What Is a Flower Frog? How to Use One in a Vase
A flower frog holds stems in place without floral foam. This guide explains pin, cage and glass frogs, plus tape grids and chicken wire for low bowls and everyday vases.
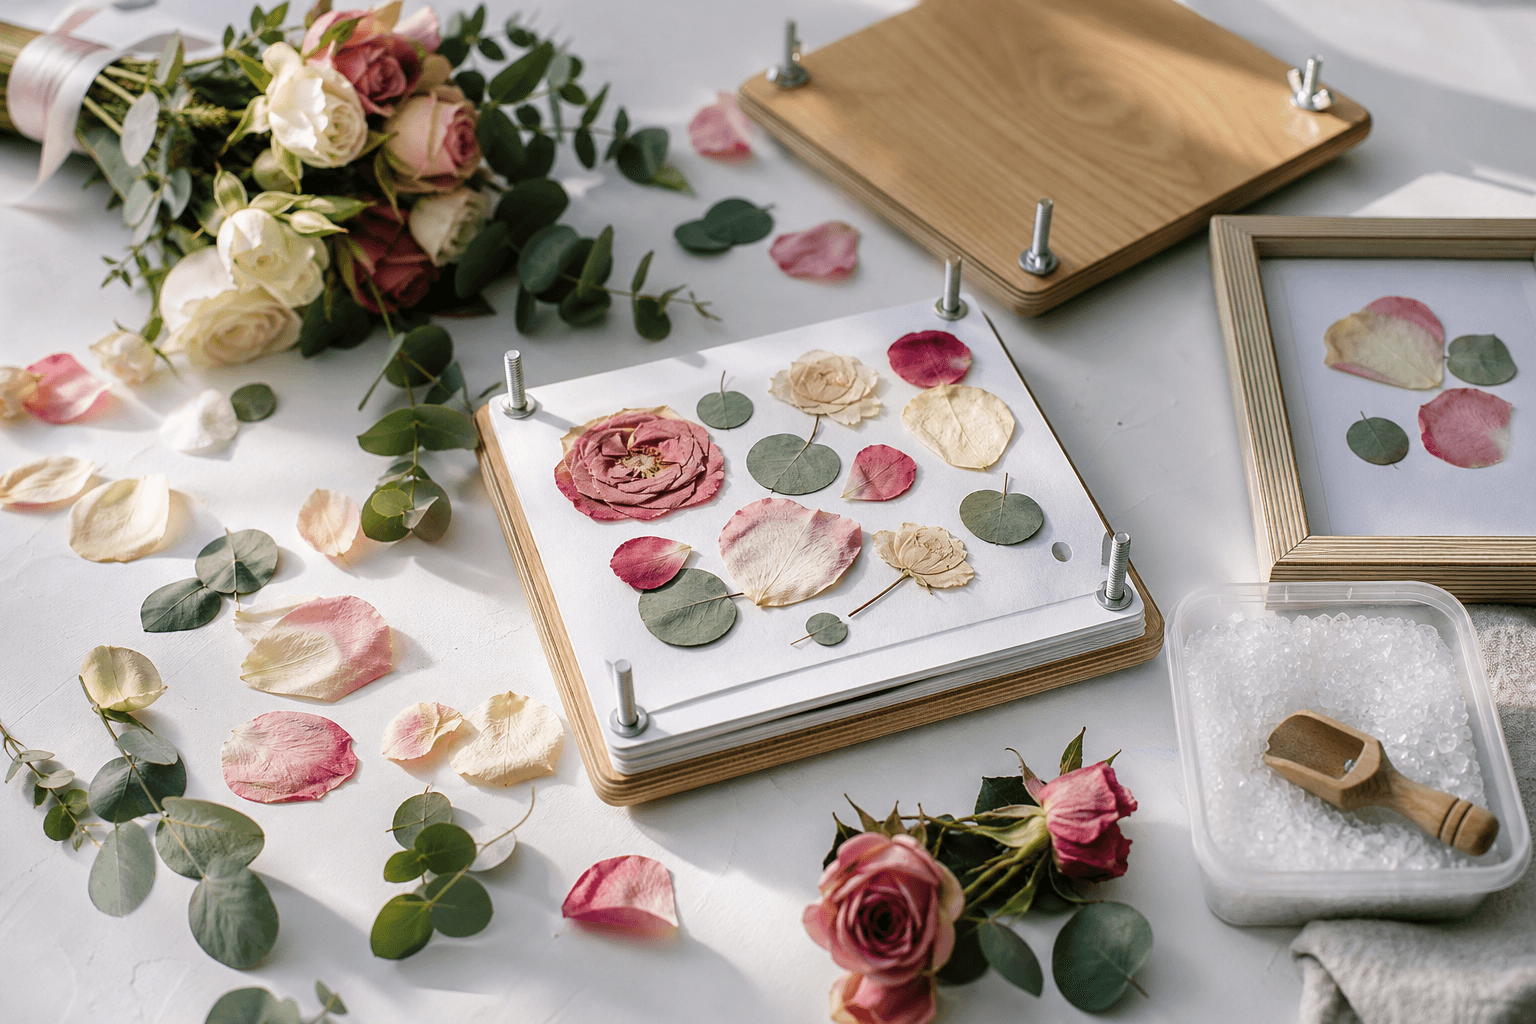
How to Preserve Wedding Flowers: Pressing, Drying and Silica Gel
Preserving a bouquet works best when you start within two days. This guide explains pressing, silica gel drying, air drying, framing, and which wedding flowers are worth saving.
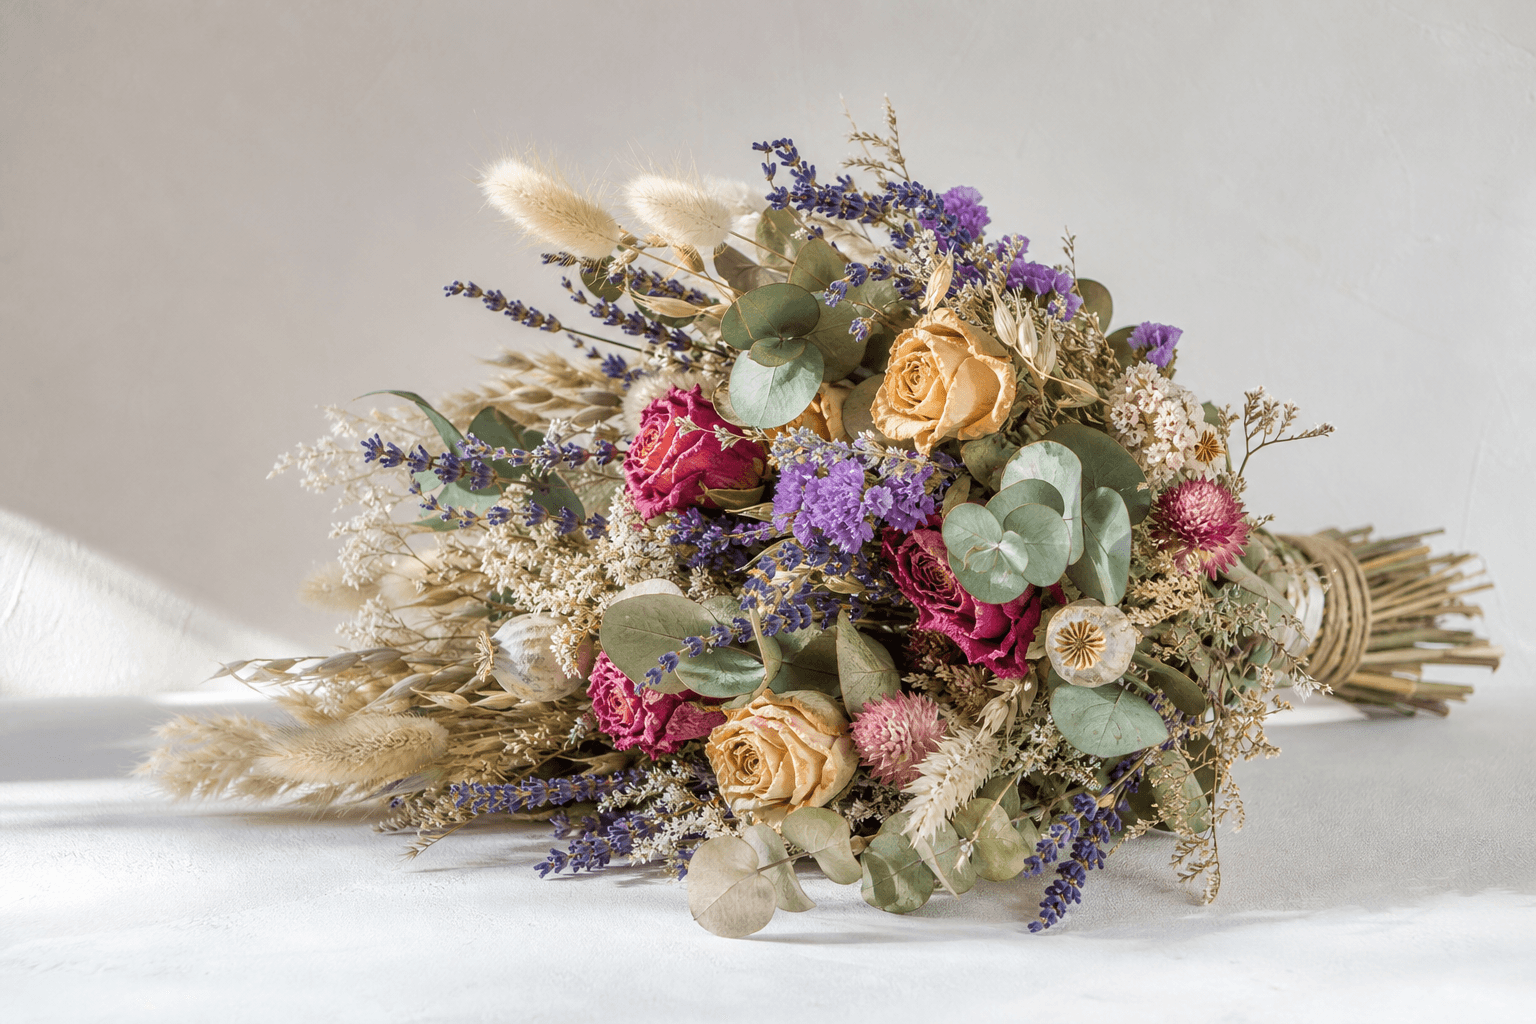
Dried Flowers: How to Make Them, Display Them and Make Them Last
A practical guide to drying flowers at home, choosing the right method, displaying a dried bouquet, and storing stems so they hold their shape and colour longer.